Using the Installer
The automated installer will install the Gemini web application to your web server (IIS) and configure a SQL Server database loaded with sample data to get you going.
The following must be present on your Windows Server. You can choose to have your IIS Web Server and SQL Server on the same machine or each running on different machines.
- Microsoft .NET Framework v4.0
- SQL Server 2005, 2008, 2008 Express or 2012
- SMTP Service/Server (optionally required for email notifications)
If you cannot confirm or do not understand any of the above items then either contact us or your IT administrator.
Step 1 - Check Pre-requisites
Please check you have everything ready for the installation process.
Step 2 - Run Installer
Note Right click on the file then select Properties and click Unblock.
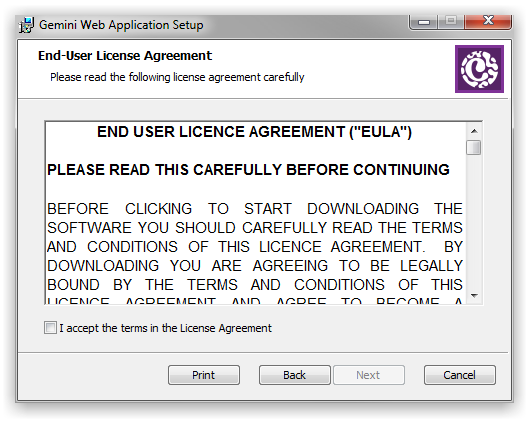
Read and accept the License Agreement should you wish to install Gemini.
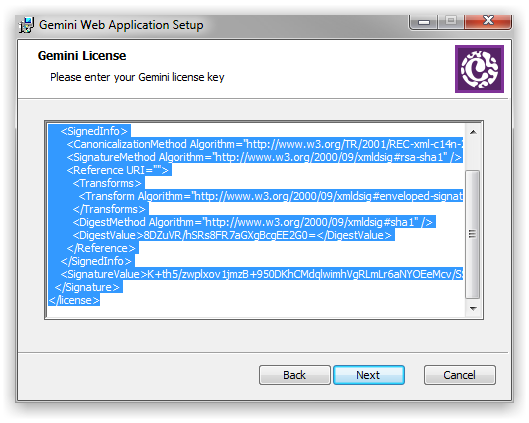
Step 3 - Enter License Key
Paste in the license key that was provided to you after sign-up.
Step 4 - Pick Install Location
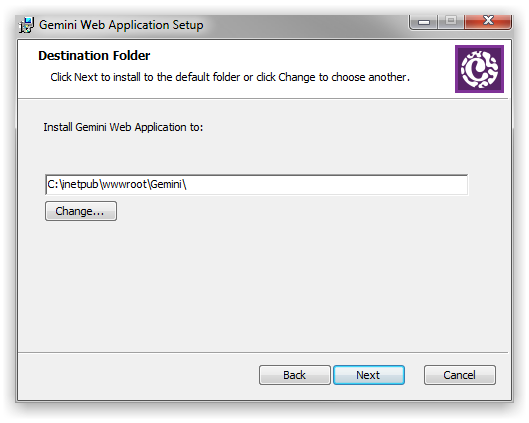
Usually the default installation path is acceptable, but you can change this path as required.
Step 5 - Web Application Setup
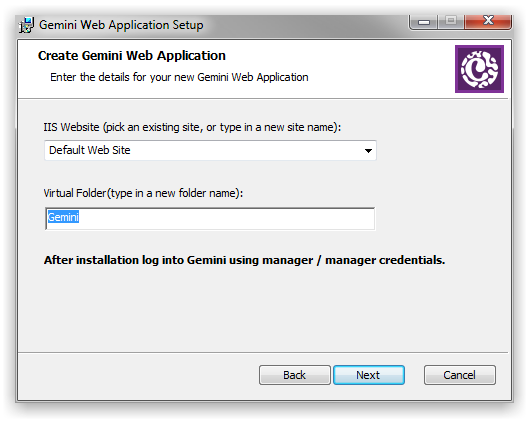
Select where you want to create the Gemini web application.
Step 6 - Database Setup
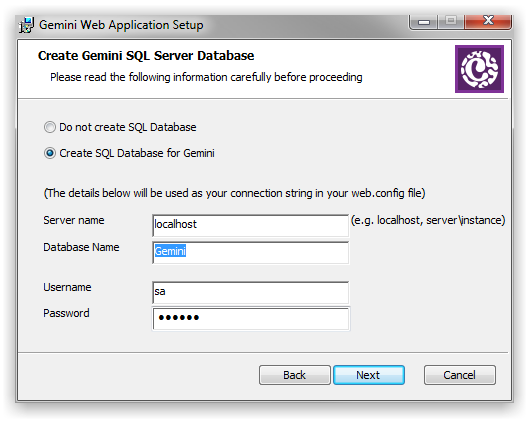
Provide credentials to connect to your existing SQL Server instance. Please ensure all credentials are correct by testing beforehand.
Step 7 - Finish
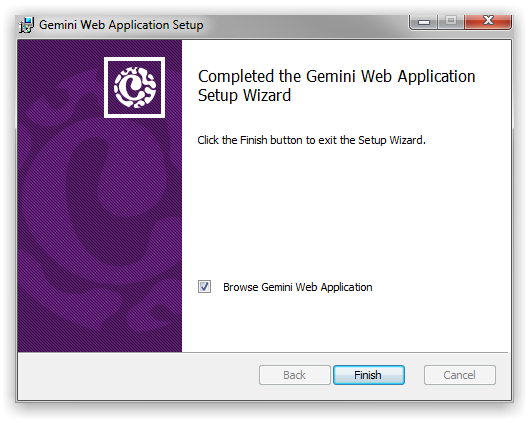
Once the installation process completes you will see the above dialog.
After installation you can navigate to the Gemini web application using your browser (e.g. “http://servername/gemini”).

If you see something like the above then Gemini has been installed correctly.
Login Credentials Username is "manager" and password is "manager"